How to take a photo
Not sure how to take a good photo? Don't worry — it's easier than you think. We've put together everything you need to know to take the perfect ID-style photo right at home. Simple tips, clear examples, and a step-by-step guide will help you avoid common mistakes and get great results on the first try.
We always think that taking a passport photo is a complex process that needs knowledge about photography, photo editing, etc. And so we generally go to a photo studios to process them. Before going straight to the task, we need to know about some basic things like; the dimension, types of photos, size, and photo requirements to improve your editing and to avoid mistakes which can lead to rejection of applications.
Major types of ID Photos
Passport photo
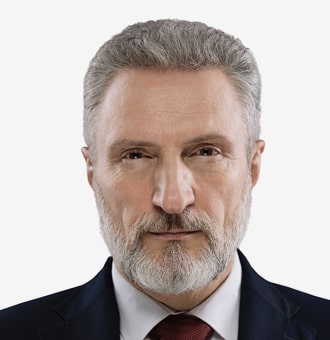
A Passport is the most accepted form of identification across the world. That is given for those who clear a series of background verification set by the government authorities. Photos of the person used for applying for a passport for personal identification is called a passport photo.
Visa photo
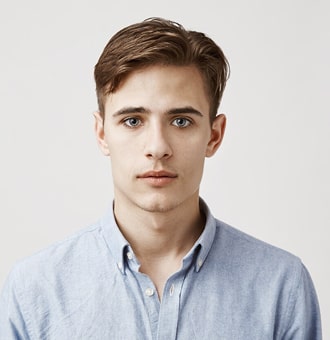
A Visa is a type of document where the country permits people belonging to another country to enter and to stay for a specified period. There are different types of visas issued by every country. Once a visa is applied, the person has to undergo a set of background verification to process the visa.
ID photo
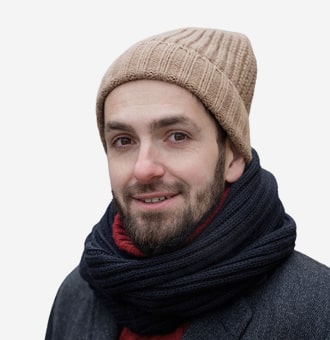
A local ID is an identity document that includes a photo of a holder their basic details such as their address, date of birth and are used to prove the person's identity. IDs are also issued for certifying a person that he/she has qualified privileges and accesses based on the type.
Online Application photo
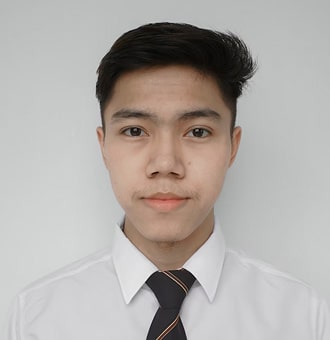
As the majority of people nowadays use smart devices, various online applications compel users to provide digital photos for online applications. So, there is an increasing demand for digital ID photos as well. Digital photos are photos that are not physically printed but are only used for online purposes.
Step-by-step guide
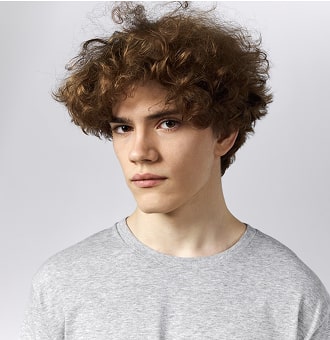
As photos in applications are mainly used to identify the facial features of a person. The photo has to be clear and perfect. To do that follow the steps below;
Step 1: Understand the requirements
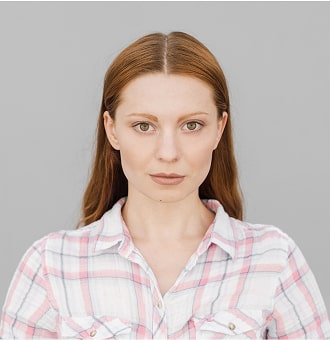
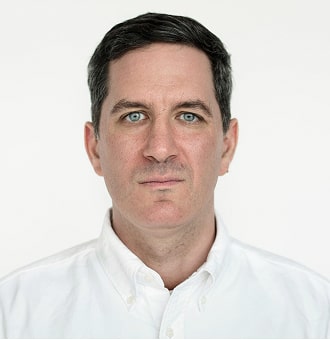
Each country has its own rules for document photos. However, the basic requirements are usually similar:
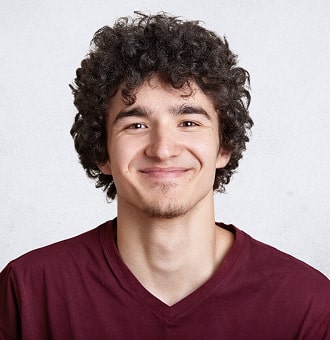
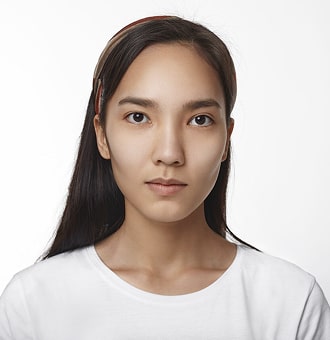
- Neutral expression, mouth closed
- Full face, centered and facing the camera
- Plain white or light grey background
- No shadows on the face or behind the head
- Eyes open, clearly visible, no red-eye effect
- No filters or retouching
Even a small error—like incorrect lighting or wrong background color—can result in your application being rejected. That's why following guidelines is so important.
Step 2: Prepare your space
ESet up in a well-lit area with even, natural light. Try to face a window during daytime, but avoid harsh sunlight. If needed, use two lamps on each side of your face to eliminate shadows. Create a neutral background using a plain wall or hang a light-colored sheet behind you. Make sure there's no texture, pattern, or furniture in the frame. Avoid placing yourself too close to the wall to prevent shadows falling behind your head.

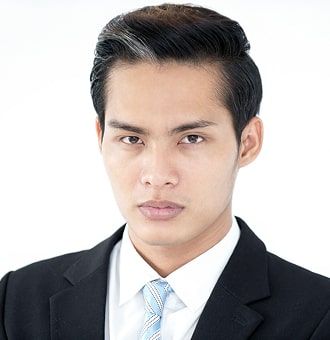
Step 3: Get dressed for the photo
Choose a plain, dark-colored top that contrasts with the background. Avoid white clothing, logos, or busy patterns. Uniforms are generally not allowed in official ID photos. Take off glasses (unless specifically permitted), hats, headphones, or any accessories that obscure your face. If you wear religious headwear, make sure your full face is still visible from chin to forehead. Tie your hair back if it covers your face and make sure your eyes are clearly visible.

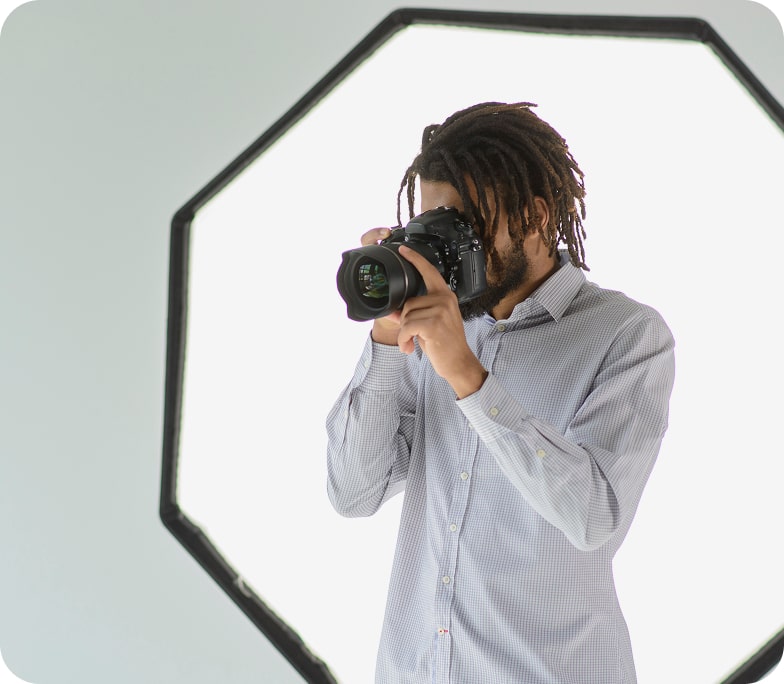
Step 4: Position the camera correctly
Ask someone to take your photo or use a tripod and a self-timer. The camera should be: Avoid using a selfie camera—rear cameras on smartphones usually provide better image quality. Make sure the photo includes your full face, neck, and the top of your shoulders, with enough space around your head.
- Positioned at eye level
- At a distance of 1.5 to 2 meters
- Facing you directly, without any angle

Editing Passport Photo
Now, that you’ve taken a perfect snap. You have to edit the photo to the correct size and print them. You can refer them and prepare your photo using Photoshop or you can try out our online passport photo creator. Using our passport photo generator you don’t have to worry about the photo dimensions, it is automatically taken care by the software.
Here you can create passport photos of different countries with exact measurements in just a few minutes. All you need to do is:
Printing Passport Photo
Now, that you've finished editing the image. We now have to print the photo with the help of your printer. Note: every passport photo has to be colored in order to be valid. So, you can use a high resolution color printer to print. The only thing you have to check is the type of paper to use and printer settings. Printing a passport photo is super easy. At first, select the photo to be printed. Then select the printer, paper size, quality (no less than 300 dpi), border less printing and select print. Since the paper used for printing is printable on one side, make sure to place the textured side facing the top of the printer when printing.